Strategic Photo Posting on Social Media
When approaching social media, it’s tempting to share all the best pictures you took during a photo outing. However, having a strategic approach to posting your photos can improve the impression you make.
I’ve been pondering this question for photographers:
“How do y’all pick which photos to upload? I have too many right now to choose from.”
It was a recent prompt by Daniel Agee, the Head of Community and Marketing on Glass.photo, an app designed by and geared especially towards photographers. (See my Glass.photo account here.)
Most folks take a scattershot approach to photo posting on social media, and that’s perfectly fine. If you’re simply sharing with friends, most anything goes.
However, when a photographer gets more serious about their craft—regardless of whether they’re a hobbyist or want to be a professional—it is worth reflecting on not just what to share, but why and when. Strategic photo posting helps you get where you’re going.
Do you know where you want to go?
Goals Direct Your Strategy
Most of us like to connect and be seen, which is a driver for being on social media in the first place. It’s nice being appreciated.
When one’s hobby gets serious, and especially when we strive to make money doing something we love, being goal-oriented can drive our efforts and actions, helping us become more accomplished, sooner.
So, what do you want to be known for, as a photographer? For some, that’s easy to answer. A wedding photographer wants to be known for photographing weddings.
If you’re not sure, you can steal a page from the journalism approach, and consider who, what, when, where, why, and how. Pick any that apply:
- Who you are and how that ties in with your photography. A mom+photographer or a museum archive photographer would each be invested in their roles, and how they relate to their respective photographic subjects.
- What your photography presents. This may include your subject (portraits), message (activism), technique (double exposures), artistic voice, and so on.
- When, where and how you photograph. Your approach could be:
- Broad, taking pictures of anything, anywhere, that catches your eye, using whatever you have on hand, including your phone camera.
- Narrowed to a couple or few subject areas, like landscape and macrophotography, using the same 100-400 mm lens.
- Singular. You might only be interested in weddings, or sporting events. Or perhaps you’re hooked on technique, using special equipment to create or processes images.
- Why you want your photography to be known. You might simply want to share better photos to your friends on social. On the other hand, you may want to be hired as a product photographer, or sell your work for stock photography, or to art collectors.
Having clarity on what you want to be known for, helps direct strategic photo posting on social media. (A profile for personal posts, and another for posting serious work, might be in order. Use your strategy on one account, and give it some time before adding a second.)
The (aspiring) professional photographer or artist
Show what you want to sell.
Looking to be hired as a pro photographer? Only post photos representative of what you’d like to be paid to take.
Are you an artist photographer? If you want to be represented, or to build a certain level of regard among peers, curators and patrons, display only your best work on your artist profile.
You get the idea.
Less, but best, is more
In selecting which photos to post, less—but best—is definitely more. Quality, not quantity, is what matters. (Quantity is great if you’ve got it, but only if the quality is top-notch too.)
Further, it’s a good idea to consider posting in a way that flows, from one photo to the next, so your feed feels cohesive, rather than scattered. For example, here’s some inspiration worth exploring:
- Photographer Adam Rubinstein posts widely varying photographs on Glass, but often does so in sequences.
- Conversely, Trond Froestad is building a photo project, and his Glass feed reflects a singular focus accordingly.
- And then there’s Chris Dickinson, who works almost exclusively within one genre.
All of these photographers use strategic photo posting.
The (serious) hobbyist
If your goal isn’t professional, there are still ways to make your social media posts shine:
- When you get home from a photo shoot, download your photos and cull them ruthlessly.
- Examine your compositions, and feel for what works. If you’re hesitating about whether an image is good enough, it’s often best to move on.
Tip: Learning more about composition, and practicing what you learn, is a great way to quickly improve your photographs. - Process your photos using the best tools you’re able to get your hands on. Sometimes it’s during processing that you discover something wonderful. Learn everything you can about your processing tool(s) through experimentation, tutorials, taking a class, or watching how-to videos.
- Organize your best photos into a series, and post one (or more) per day, or at least one every few days.
- And of course, there are social media basics: Your audience can be further engaged by an informative caption, and hashtags make your post more visible. (Knowing your audience, or desired audience, is also important, but that’s a topic for another day.)
My personal approach to strategic photo selection
As an artist photographer, I consider how well what I’m sharing communicates my personal voice. I want to offer something distinctive and authentic to an audience that appreciates my unique vision.
Like most digital photographers, I take lots of pictures on any given photo outing. Back home, with photos downloaded, I follow these steps:
- The first pass: I cull ruthlessly, 💛-ing every potentially good image … including ones I won’t ever post, but want to save for the memories. Then I delete everything else.
- The second pass: I de-💛 the keepers, and skim them again. For processing and possible posting, I re-💛 the few that seem to have real potential.
- Processing: Starting with the very best, I import them into my photo processor (usually Lightroom), and get to work.
- The third pass: With photos processed, I skim and pick the best again, and then generate a version for posting. I watermark mine, but not every photographer does.
Tip: Both when selecting the best work, and when processing those best photos, I practice standing back, an artist’s technique that can improve both tasks.
Organized photo posting
I float in and out of organized posting, sometimes using a scheduling spreadsheet, album groupings, or folders of watermarked images—organized by subject—to draw from. (If you keep a spreadsheet, you’ll have that info at your fingertips for later use.) My spreadsheet looks like this:

We are all different, experiment and find a way of organizing that works for you.
Series
For me, series really are a great way to approach strategic photo posting on social, as it takes out some of the guesswork in what to share next. It’s tempting to post older photos when there’s a lull, and sometimes I do that on my Mastodon.art account. But on my Glass account I am much more selective, as I use it more as a portfolio of my best work, similar to this, my web site.
Post text / captions
There’s nothing more disappointing than seeing an interesting photograph, and finding there are only hashtags accompanying it. Include some post text or a caption, please! Depending on the length of text you’re allowed, you can give a little context, or write something more involved and engaging. Your audience would probably like some information about your image, or the thoughts you had in creating it.
Also, personality helps people connect with your posts. When captioning my photos, I frequently try to communicate my voice and adjust my tone according to the situation. Sometimes, instead of the usual caption, I find or write a bit of poetry. Occasionally a quote fits perfectly.
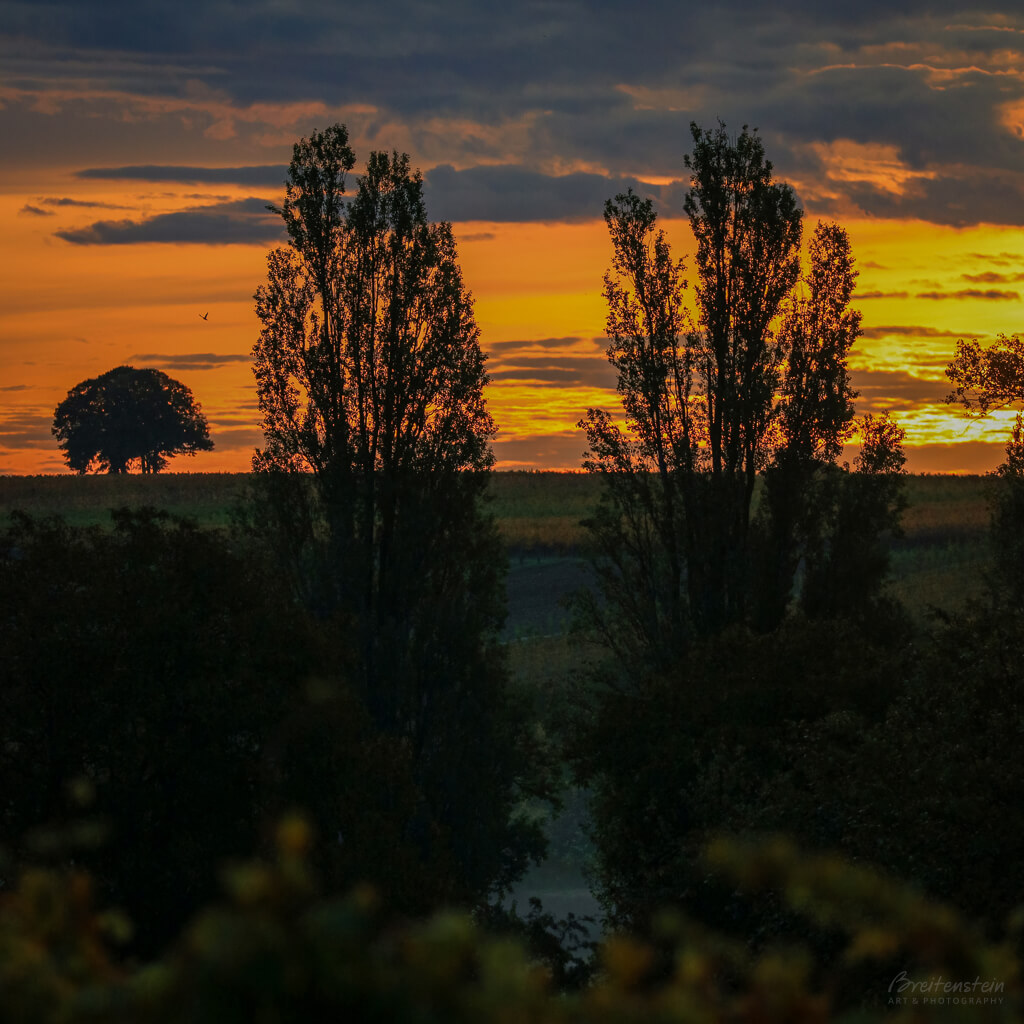
Alt Text
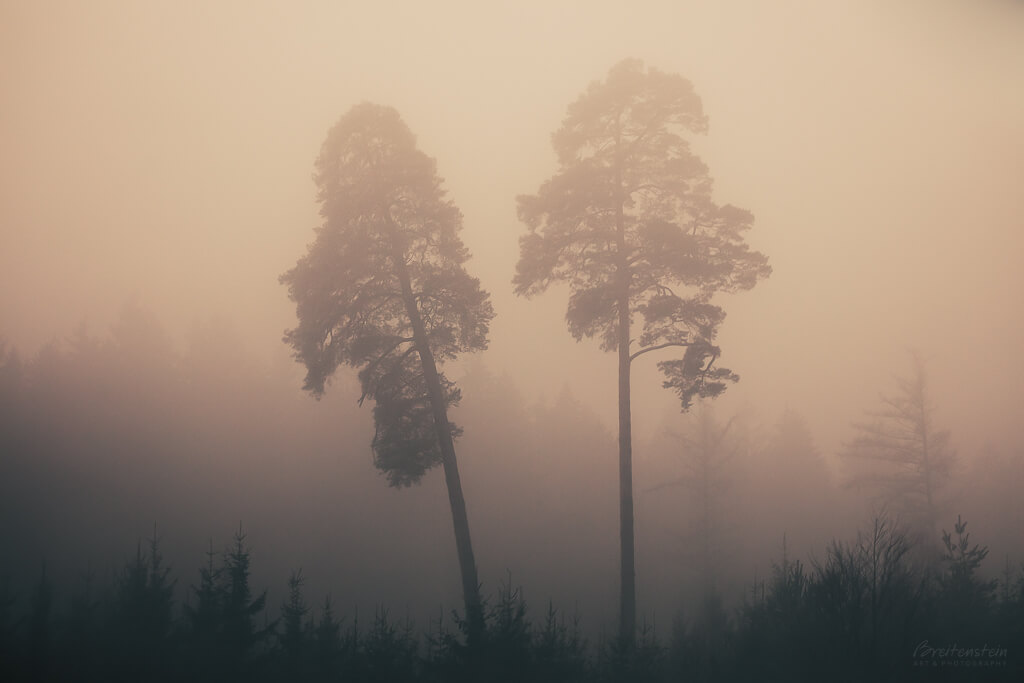
I believe in being inclusive. Persons with impaired vision might be using a screen-reader to peruse the web, and they deserve to know what an image I post is about. Therefore, I include Alt Text—a brief description of my photos—whenever a social media platform allows. This can be simple, something like, “Photograph of two trees in a soft peach mist” for the image below. (I tend to write more because, well, that’s me. I like painting pictures with words.)
Hashtags
Where possible, be sure to include relevant hashtags in your post, to help new viewers find you. To learn more, look up recommendations on hashtags, for whichever social media platform you’re on.
It’s a good idea to visit any hashtags you plan to use, to see what’s there. You might be surprised to learn that not all may mean what you think, nor may they put your post in relevant (or quality) company. For example, I recently saw someone post that they’re working on their MA (Master of Arts) thesis on the garment industry. They’d decided to use the hashtag #MArathon for their MA-related posts. It’s a cute idea, but anyone who clicks on that hashtag will naturally see posts about marathon running, an unrelated topic.
I’ve developed my own distinct hashtag for my artistic work, and I include it in the captions for all of my artist photography, wherever it makes sense. When a viewer clicks on my unique hashtag, they can see every media post I’ve made, before (hopefully) deciding to follow me. You might consider doing the same.
I hope this has been helpful!
Thanks for your time and attention, both are valuable. 🙏🏻
I invite you to view my photographs and paintings, and to learn more about me.
If you liked this post, you have options:
- Buy me a coffee (I’d be so grateful!), or check out my Patreon (coming soon!)
- Sign up for my monthly newsletter, full of delicious tidbits (below)
- Follow my blog with RSS, using a feed reader like Feedly
- Browse my other blog posts
© Marlene Breitenstein. I welcome your inquiries about purchasing, licensing, or republishing my work. I take my intellectual property seriously. This post and its contents, unless otherwise noted, is owned by Marlene Breitenstein. It is not to be reproduced, copied, or published in derivative, without permission from the artist. I’m nice, but I do not hesitate to pursue copyright infringements. Do not mistake my kindness for weakness.